Cheap Windows Tablet as MIDI Host
The MIDI Chronicles
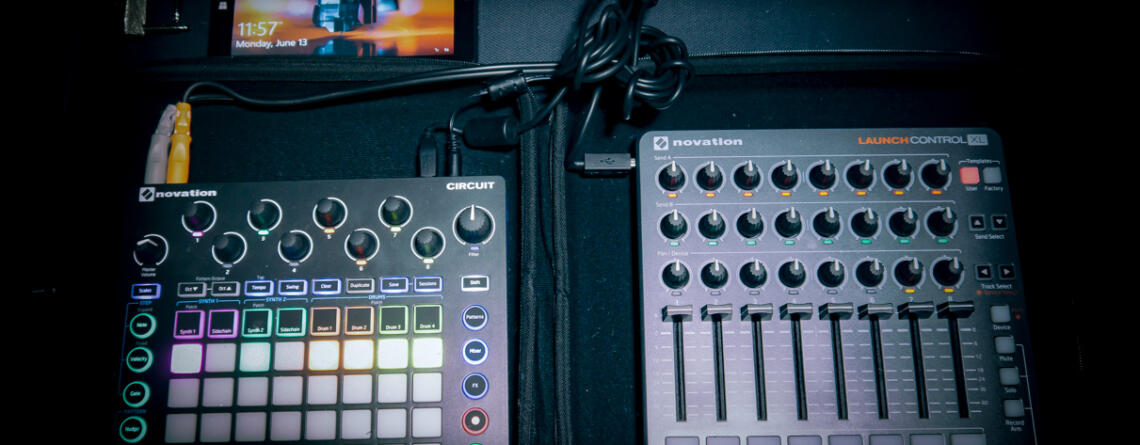
| Recently I purchased a Launch control XL to accompany the Novation Circuit that I’ve had for a while now. I think that I may have been a little too excited when I acquired my new toy because I completely overlooked the fact that it requires a USB MIDI host for the two devices to communicate. Since MIDI messages can’t be natively routed over USB a middle man needs to be present. Novation suggests the Kenton USB Host and the iConnect MIDI 4+ which are very good at what they do but with one almost impossible to find and the other costing over $200, these were things that I could do without. I thought to myself there must be a cheaper easier way to do this and then I came across the solution with some help from a response that I got on a forum post I made.
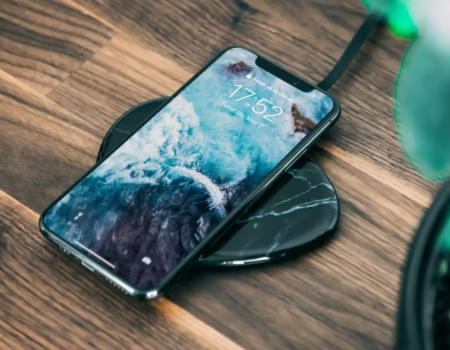
The solution to this problem was right in from of my eyes and cost me less than $100 and a little sweat. If you’ve been tablet shopping recently you’ve probably seen a proliferation of cheap Windows devices on the market. Initially, when I saw stores hawking these things I thought to myself why the hell would someone want a computer that runs windows on a mobile chipset??? I completely brushed them aside until now. This was the solution to my problem, a crappy windows tablet. I went on the hunt for the cheapest most no-frills tablet that I could find on Amazon. I got stuck deciding between the Vulcan Journey VTA0703 and the KOCASO W700. The specs on both tablets were almost identical, I ended up getting the slightly more expensive W700 because it included an IPS display and came with a few useful accessories.
So you’re probably thinking to yourself that there is probably more to this than it appears and you would be correct. To make it easier I’m going to list the items you need to accomplish this and how to set everything up.Required Equipment
- Below is the minimum required hardware to accomplish this task:
Novation Circuit | Novation LC/XL | Windows Tablet | OTG Charging Hub |
 |  |  |  |
2. Now that you have everything ready to go, you will need to download the following program: CopperLan. After Downloading the software you will need to create a virtual MIDI network and connect each device with a virtual cable. I’ve created a video below that shows how to connect the two devices together with Copperlan.![]()
![]() Please make sure that all you devices are connected via USB and power is provided to the OTG hub if you need the charging capabilities.
Please make sure that all you devices are connected via USB and power is provided to the OTG hub if you need the charging capabilities.
After everything is connected you should be able to control your Circuit with the Launch Control XL. You will need the Launch Control templates for the Circuit if you don’t already have them. Link here : LCXL Templates . All in all, this cost me about $70 total. I had a few minor issues with my setup during testing. The OTG cable is very flimsy, I bought a Hot Glue Gun to reinforce the wires inside. Also, the tablet went to sleep on me in the middle of practice and broke the connection but this is easily remedied by changing the Power Plan in the Windows Control Panel. Overall it’s been a good experience and the savings alone are worth it. Based on what I’ve heard this is also possible on Android 6.0 (Marshmallow). I haven’t tested that but I have a tablet available if anyone is interested in using an Android device. Please feel free to comment below with any questions or ideas.
Discover more from Akiatech Solutions Blog
Subscribe to get the latest posts sent to your email.
