WatchAir TV/DVR Antenna Review 2018
The WatchAir TV Antenna/DVR
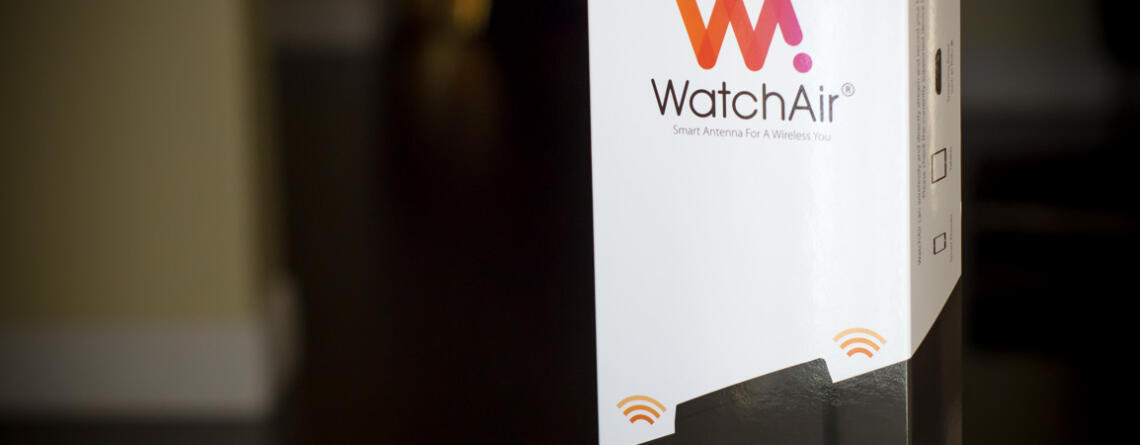
Recently on one of my Amazon binge shopping runs I came across this weird but cool device called the WatchAir “Smart Antenna”. The WatchAir is a hybrid Antenna/DVR that you can access via applications on the Android and iOS platforms. There are also other apps being rolled out on Smart TV/Devices and possibly a PC or Mac app in the future. When I tested my unit I was able to access it from an Android tablet, iPad, FireTV and Samsung TV. The various application interfaces are very fluid and easy to navigate. The initial configuration of the unit will need to be done on the mobile apps because the TV apps are very basic and only provide the minimum options needed to view and make minor changes to the recording settings.
Design
The design of the WatchAir is very attractive. It looks a bit like a space satellite with the solar panels deployed in the shape of a T, very minimalistic but packed with functionality. The design consists of two parts. The first is the base unit that contains the brains of the device and has the connection for the external antennas and Micro-SD card in addition to the power cable. There is also a prominent “ribbed” glossy circle on the front of the WatchAir that is surrounded by an LED ring. I keep trying to press it because it looks like a power button but it isn’t. My index finger keeps getting drawn to it each time I’m near the device. Darn, you WatchAir design team for preying on my emotions…. The next (optional) piece of the device is the antenna “wing”, this part can be used in lieu of your own external antenna if you have one and is very capable. I was able to access 50+ channels with only the built-in antenna and the reception was better than the two digital antennas I’ve used on my TV previously. It could be that the WatchAir has a more sensitive receiver than the TV’s built-in tuner but either way I was impressed.
Usage|Setup
Using the device is pretty straightforward once you get over the hurdle of setting it up. The first thing you’ll need to do is install the WatchAir app from either the Google Play Store or the iOS App Store. Once you have the app installed you will then need to launch it sign up for a free account and follow their “patented” GPS antenna placement instructions which will require you to have a phone or tablet with a camera (most do) and as you probably guessed a working GPS connection (some do not). Once you’ve found the perfect spot as noted by the app you can accept the placement and move on to the next step which is connecting to the units WiFi connection and adding it to your phone. Once you’ve gotten past all that you can then scan for local channels in your area and add them to the device. The app does provide you with the flexibility to filter the channels while you’re adding them so that will save you the headache of dealing with that later.
Usage|Watching TV
Navigating the main interface of the WatchAir will seem familiar to you if you’ve ever used any of the major streaming apps or devices. Instead of providing you with a typical “TV Guide” menu (which it does have) you are greeted with program genres with screenshots of the currently running shows displayed within tiles. These genre-based tiles are then further broken down by availability times e.g. available now, soon or tonight. Once you have selected a channel to watch only then does the “TV Guide” interface becomes accessible. I think they should allow you to access the guide at any time instead of hiding it within the channels themselves. This would make it a lot easier to scroll through and directly select a channel instead of selecting channels indirectly via the tiled interface. I understand that they are trying to appeal to the “Cord Cutter” crowd but I’m pretty sure that a number of the people buying these devices would be okay with a typical EPG TV Guide Interface. Simplifying this would save the WatchAir guys from having to maintain an overly complicated GUI that requires a constant connection to the internet and slow loading thumbnails when just text and channel icons would be sufficient.
Usage|DVR
The DVR functionality of the WatchAir is very limited and although it does fulfill the basic requirements of what a DVR is supposed to do it does so with no Fcks given. It’s probably even a little misleading to call a device with only a single tuner a “DVR”. The typical role of a DVR is to record shows to be watched back later while still retaining the ability to view at least one other channel during the recording process. With the WatchAir you can only record the same channel that you are tuned to and don’t even think about changing the channel while it’s recording or you will immediately end your recording without even a warning. I think that they should have locked the ability to change the channel if you’re recording something, that way you can’t accidentally change it or simply add it as an option for the people that want it.
Summary
The thing I love the most about the WatchAir, is its seamless integration with my FireTV. When I used the ATSC tuner in my TV the audio would be routed through the TV speakers instead on my Home Theater Receiver. With the WatchAir app, I can switch between streaming apps such as Hulu or Netflix and Local TV on the fly and keep the pristine multi-channel audio coming from my receiver. This is where the WatchAir wins. The DVR functionality could be more robust but would probably double the price of the unit due to the added cost of having multiple tuners. I think they need to can that feature because it’s just going to confuse and upset a lot of customers that think they are purchasing a bonafide DVR and not a device that allows you to stream video to multiple devices. On the upside, the company seems to be actively tuning the user experience and fixing any outstanding bugs on the device. They are also rolling out a number of new features in the near future. I will test and provide an update when they do.Specs


| Get your own WatchAir below |
 |
Gallery
Discover more from Akiatech Solutions Blog
Subscribe to get the latest posts sent to your email.


